Everyone wants to install the new Ubuntu Touch Developer Preview and Canonical has made sure that the process is simple and straightforward.
Before we start to describe the process of flashing and installing Ubuntu Touch Developer Preview, you need to know about a few disclaimers. First of all, you will need to unlock your device. Doing so may result in voiding the warranty of the device, so you will have to perform the process at your own risk. Secondly, The Ubuntu Touch Developer Preview is intended to be used for development and evaluation purposes only. It does not provide all of the features and services of a retail phone and cannot replace your current handset. You will lose all the data from any previous installation, and without a backup, there is no way of getting it back. After installing the operating system, you will get the following functionalities: Shell and core applications, connection to the GSM network (on Galaxy Nexus and Nexus 4), phone calls and SMS (on Galaxy Nexus and Nexus 4), networking via Wifi, and camera (front and back).
Keep in mind that this tutorial applies to all the supported Nexus devices: Galaxy Nexus (maguro), Nexus 4 (mako), Nexus 7 (grouper), and Nexus 10 (manta). You will need to install some tools and to download the actual OS. This is done via PPA. Just open a terminal and enter the following commands:
sudo add-apt-repository ppa:phablet-team/tools
sudo apt-get update
sudo apt-get install phablet-tools android-tools-adb android-tools-fastboot
The second step is to unlock your device. If it's already unlocked, you can skip this step. The Canonical description is pretty clear on how this is done:
- Enable USB debugging on the device;
- On Ice Cream Sandwich (version 4.0) go to Settings and turn on USB Debugging (Settings > System > Developer options > USB debugging);
- On Jelly Bean (versions 4.1 and 4.2) you need to enter Settings, About [Phone|Tablet] and tap the Build number 7 times to see the Developer Options, activate USB Debugging via Settings > Developer options > USB debugging;
- On 4.2.2 you will need to accept a host key on the device, if you already had adb installed, do the following: On the workstation-> adb kill-server; adb start-server;
- Plug the device into the computer via the USB cable;
- Depending on the installed Android version, a popup will show up on the device with the host key that needs to be accepted for the device to communicate with the workstation;
- Save the version of the current image on the device, if on Android, to use as a reference to revert back to. The version can be found by going to Settings > About Phone > Build Number.
The third and last step is the most important. Just enter the following command:
phablet-flash -b
The -b performs a full bootstrap on the device. If the device is already unlocked, it will carry on. If you have already bootstrapped once and want to install a daily just do:
phablet-flash
The phone will boot into Unity Shell. Enjoy your new Ubuntu for Phones OS.
 |
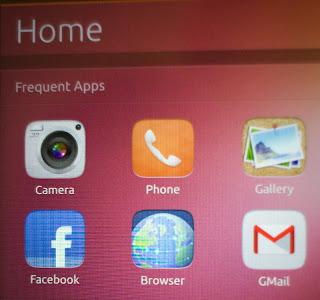
| Nexus 4 running Ubuntu OS Image credits to Canonical |


 2/22/2013 10:49:00 PM
 dannzfay

 Posted in:


0 comments:
Post a Comment